Shopify Webhooks with Begin

by Taylor Beseda
on
 Photo by Tatiana Rodriguez
It’s always nice when data comes to you, and even better if your program can react in real-time. Shopify offers helpful webhooks for all sorts of store events. A developer just needs to set up a way to listen for those hooks and act on their data.
Shopify does offer support for AWS EventBridge and GCP Pub/Sub. Unfortunately, the process for both requires some web console spelunking, subscribing to webhook topics programmatically via the Shopify API (eventually, a good idea), and then setting up a mechanism to actually do work on the data.
Instead, let’s leverage the power and scale of AWS with the ease of Architect and Begin. Without managing AWS projects, IAM roles, or connecting EventBridge to a series of Lambdas.
Architect will help set up various HTTP routes (API Gateway endpoints backed by Lambda functions) to handle incoming webhook data. As an example, we’ll listen for customer updates and check if they’re a VIP (10 or more lifetime orders).
Create a new Architect app with npm init
npm init @architect shopify-webhooks
cd shopify-webhooks
Architect has created the foundation for a new Arc project with a single HTTP endpoint. You can get a good view of what an Arc project is about by viewing the ./app.arc file.
Add an HTTP function called “customer-update”
Create a new entry in the app’s manifest. We’ll use the “post” prefix to declare an endpoint that will respond to POST requests like webhooks from Shopify.
@app
shopify-webhooks

@http
get /
post /customer-update
Architect’s CLI can help by creating some scaffolding. Just run arc create:
npx arc create
# ✓ Create Existing Architect project manifest found
# ✓ Create Created new project files in src/http/post-customer_update/
# ✓ Create Done!
Update the customer-update handler function
First, let’s add the @architect/functions helper.
This library has some utilities to help parse request bodies, handle asynchronous code, and more. It’s also available in Ruby and Python. Yep, this entire workflow can be done with alternative runtimes.
npm i @architect/functions
We’ll add some very simple code to src/http/post-customer_update/index.js that will acknowledge a webhook request and decide what to log based on a customer’s total order count.
const arc = require("@architect/functions");

function handler(request, response) {
  response({ status: 200 }); // respond immediately

  const customer = request.body;
  console.log(`${customer.id} was updated`);

  if (customer.orders_count > 9) {
    console.log(`${customer.id} is a VIP 🎉`);
  } else {
    console.log(`${customer.id} has ${customer.orders_count} orders`);
  }
}

exports.handler = arc.http(handler);
Test locally with Architect Sandbox
Architect has a Sandbox to help test our functions locally. Fire it up:
npx arc sandboxNavigate to http://localhost:3333 to confirm the server is running and see get-index in action.
Next, we can test our new endpoint locally with a curl POST:
curl -X POST http://localhost:3333/customer-update \
   -H 'Content-Type: application/json' \
   -d '{"id": 706405506930370084,"email": "bob@biller.com","orders_count": 0}'
Checking the Sandbox logs, we can see the customer’s id was logged to the console.
706405506930370084 was updated
706405506930370084 has 0 orders
Try sending the curl command again but set “orders_count” to 10. This time the customer is logged as a VIP 🎉
706405506930370084 was updated
706405506930370084 is a VIP 🎉
Deploy to Begin.com
Let’s get this to the cloud! Architect lets developers deploy directly to an existing AWS account if a local profile is set up.
Instead, we’ll make it even easier and deploy it to Begin.com. First, push the Arc project to a new GitHub repository. Then head to Begin.com (and make an account if needed) to create a new app.
Select “Use an existing repo” and choose the GitHub repository we just created.
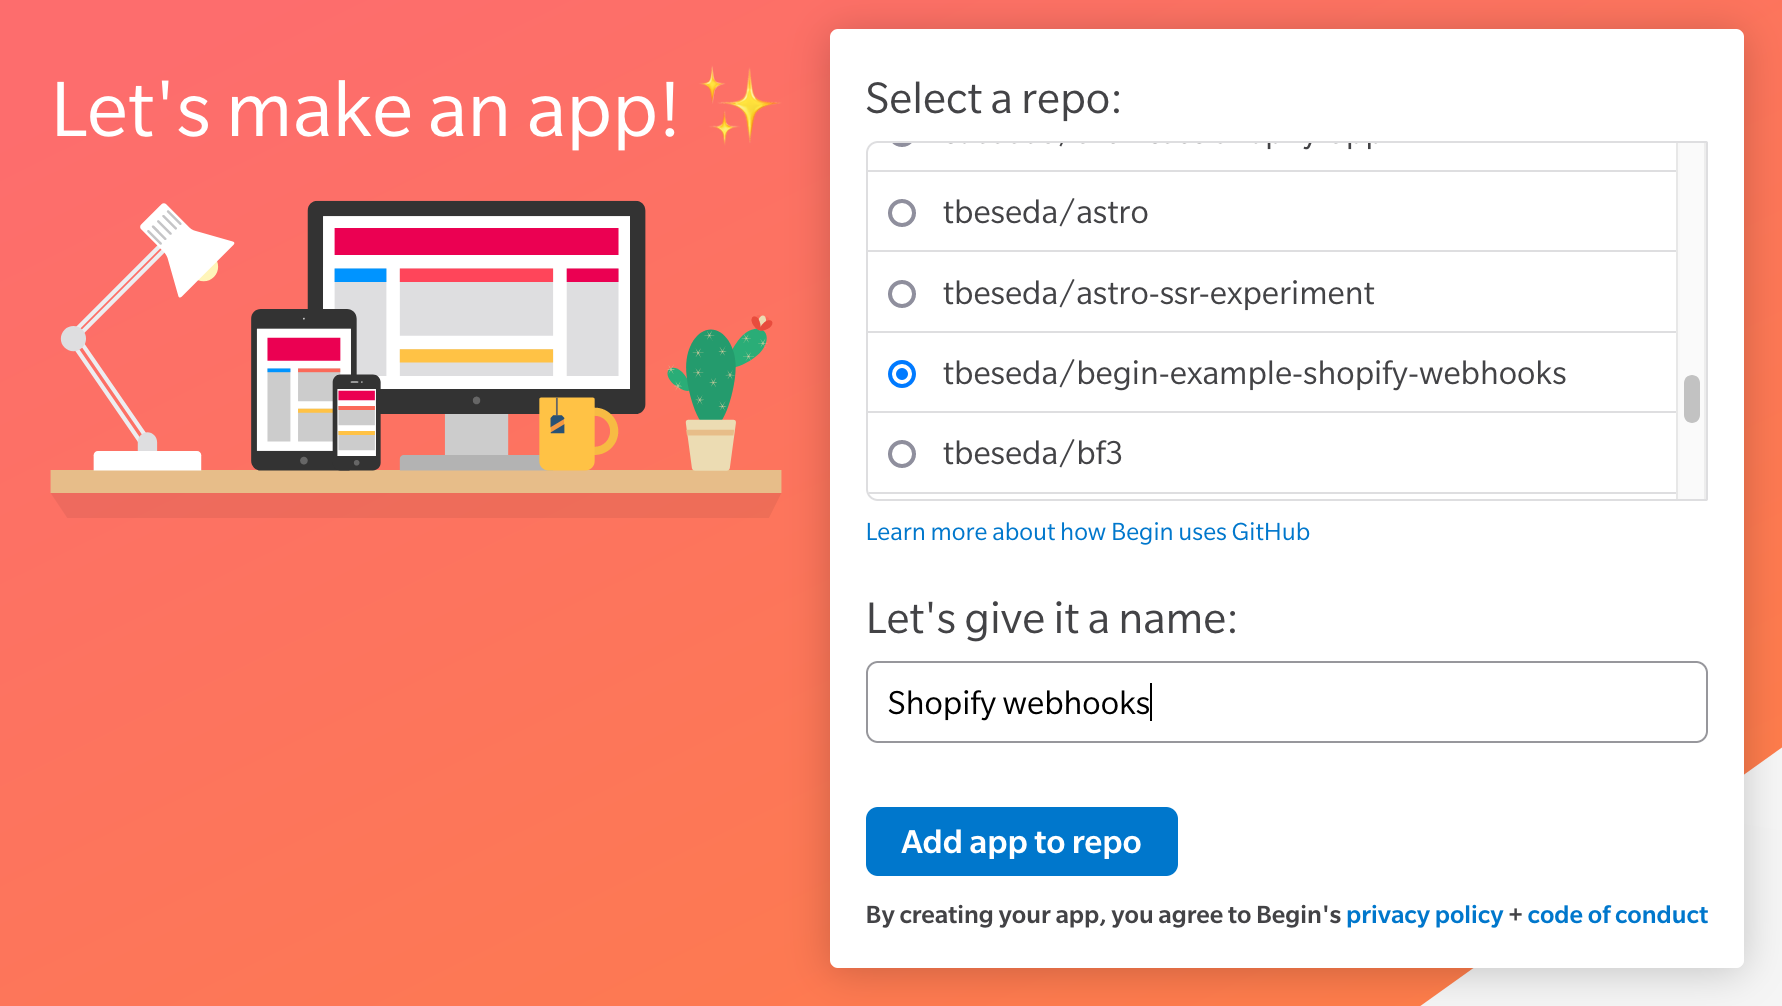
A staging build will kick off immediately. After that succeeds, go ahead and deploy to production. Once that’s complete, you can click the production link to open the project’s live version.
Configure Shopify with Begin’s new URL
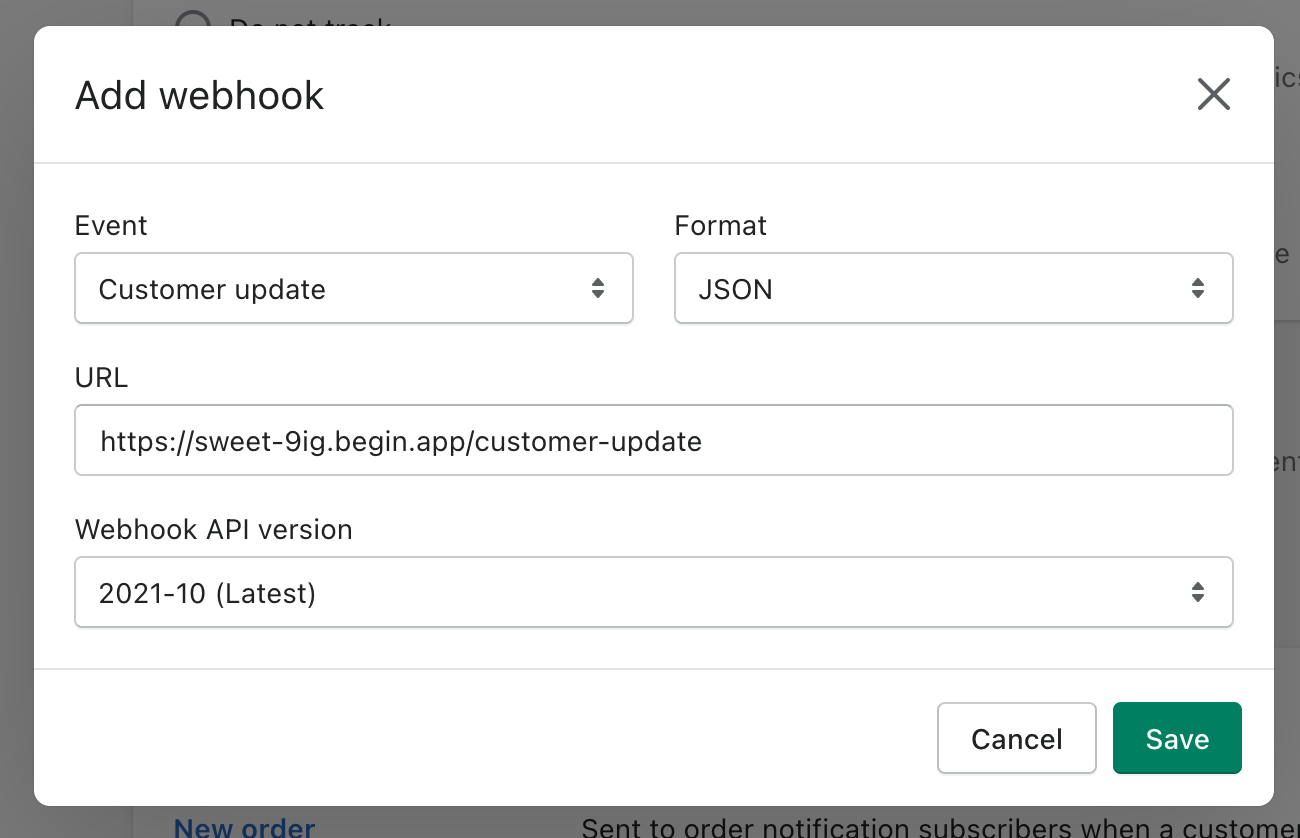
Head over to the admin for the Shopify store you’re working with. In store settings, under Notifications, add a new webhook. Set the topic to “Customer update” and use the production URL from Begin with the added /customer-update path.
Send a sample event from Shopify
After saving the webhook in Shopify, click “Send test notification” next to the new event. This will POST a test payload to the live project deployed on Begin.
From the Begin app dashboard, open the customer-update function logs from the HTTP view to check the production logs.
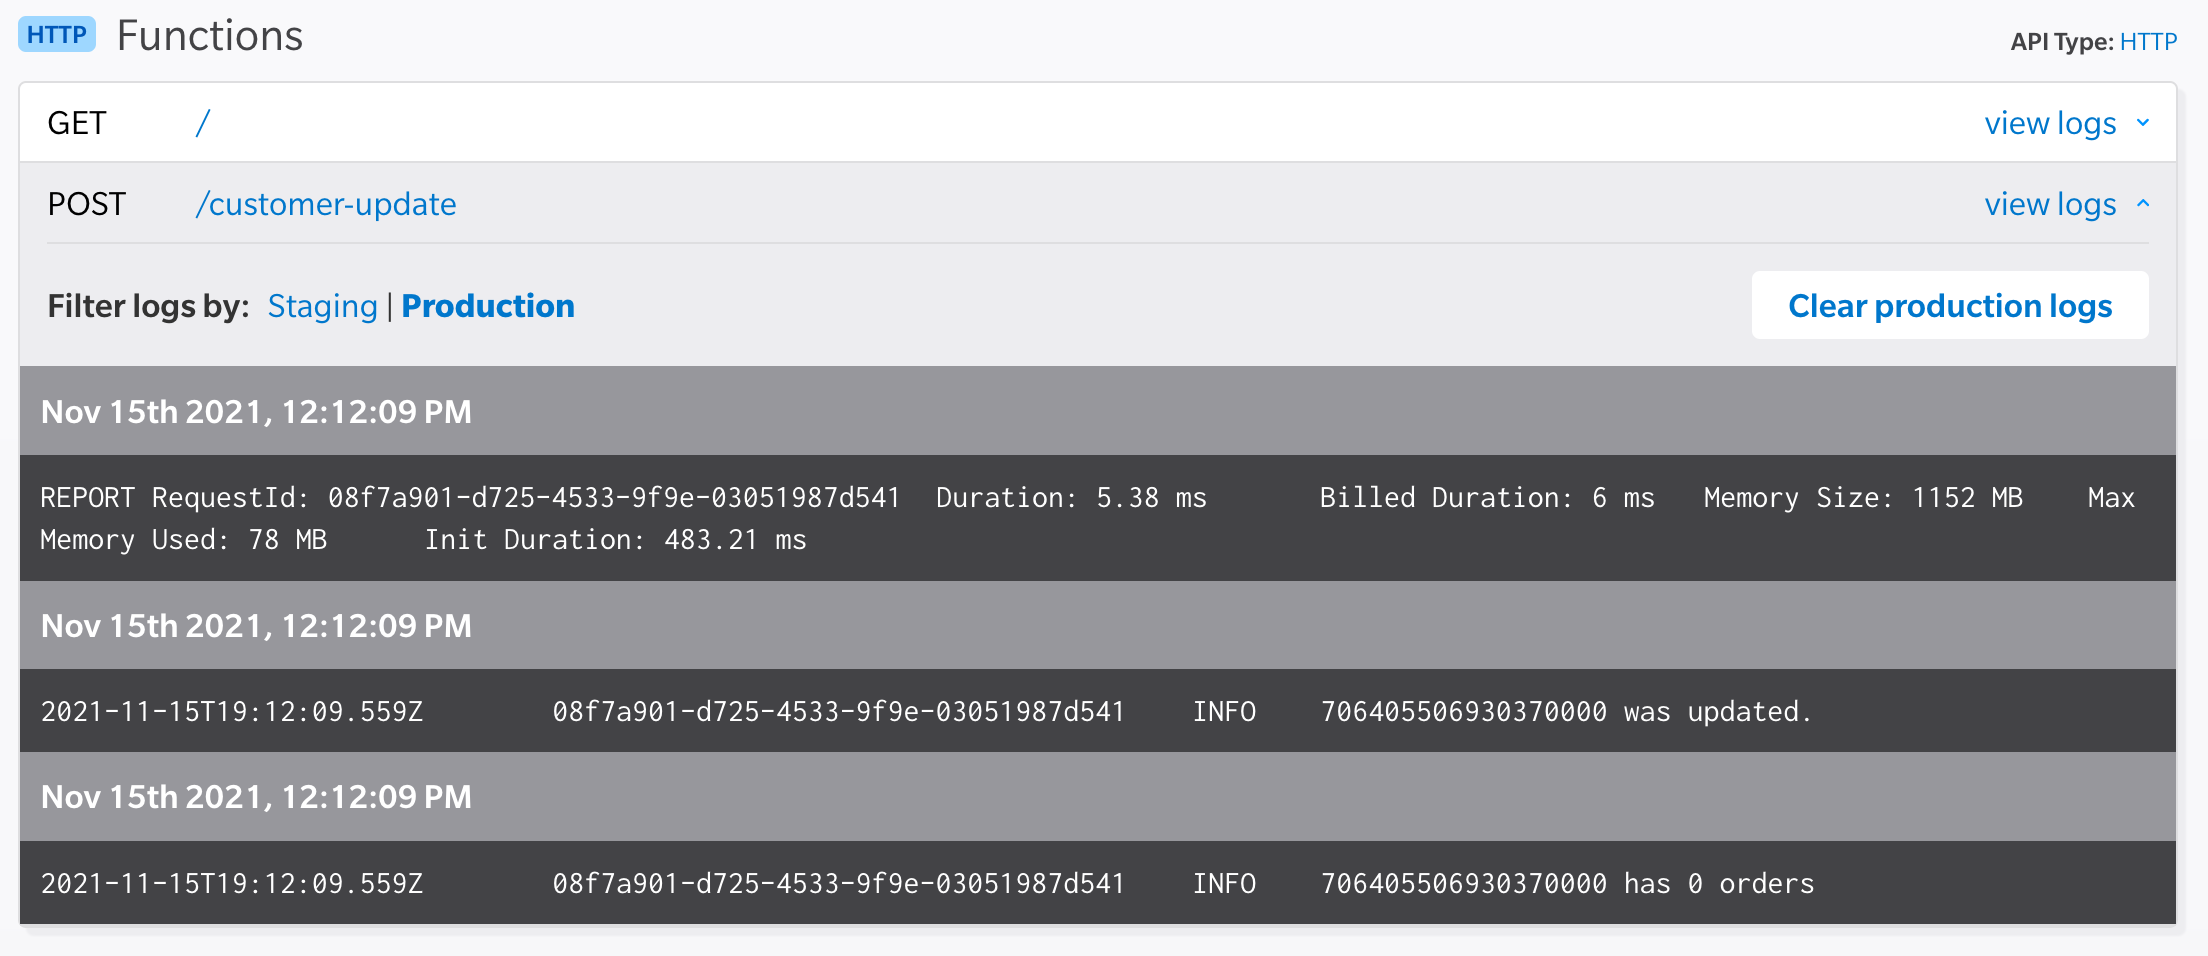
Just like that, we’re catching Shopify webhooks in production with AWS Lambdas, no complex set up required.
Next steps
Okay, now what? Well, that’s up to you and your app’s needs. Here are some suggestions from my time in the Shopify ecosystem:
- Verify the webhook signature.
- Save data to a database; like Begin’s built-in tables.
- POST data back to Shopify’s API, like adding a
VIPcustomer tag. - Publish to an event queue (SNS) with the @events pragma.
- Handle Shopify’s mandatory webhooks.
- Reduce repetition by sharing code between functions.